We provides a plugin feature that integrates with Xero, enabling you to process card payments through their platform. This integration allows businesses to manage their financial transactions by securely accepting card payments directly within Xero's user-friendly interface.
In this article, we will provide you with a guide as to how to setup our plugin for the Xero platform.
Before attempting to integrate with Xero, ensure that you are onboarded with Apcopay. Contact our support team to assist you in this regard.
You will need access to the Xero platform as well as merchant credentials as provided by our support team.
After the customer makes the payment for the invoice, you'll need to manually update the invoice status in Xero to 'paid'.' An email containing the PSP ID and invoice number will be sent to the configured email address.
One-time Setup
| Step | Description |
|---|---|
| Step 1: Access to Xero Platform - Settings | Access: https://go.xero.com/Settings/PaymentGateways/ Select "Other Available Payment Services" and click on "Add Other". Insert Name: APCOPAY |
| Step 2: Setup your custom URL | Your custom URL: https://www.apsp.biz/pay/xerointegration/default.aspx?invoiceNo=[INVOICENUMBER]&cy=[CURRENCY]&... Pay now text: Pay with Apcopay Cards |
| Step 3: Provide Apcopay with an email address | Please provide us with an email address to receive emails for paid invoices to Apcopay for configuration. Apcopay will send a key to configure in the above url in parameter key. |
Creating an Invoice to be paid via Apcopay
| Step | Description |
|---|---|
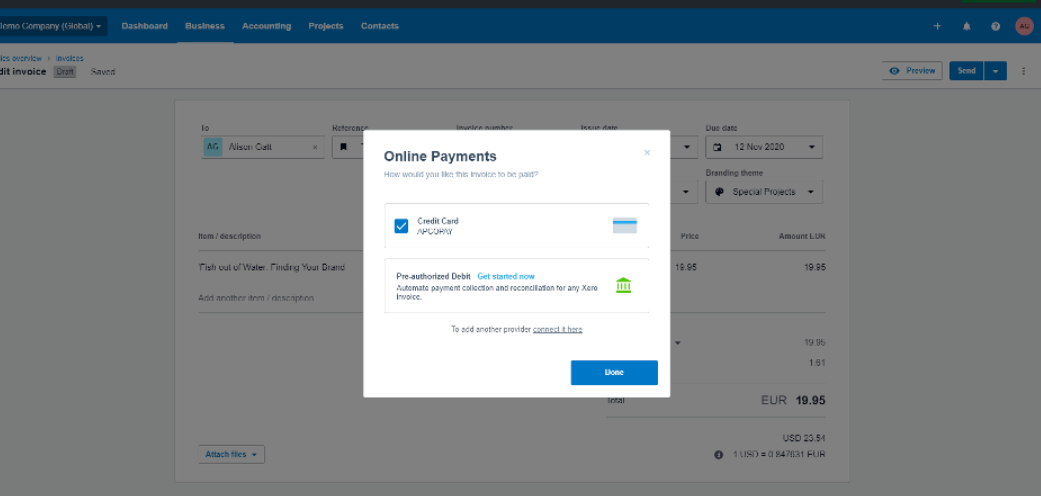
| Step 1. - Creating a new invoice | Select Apcopay as an payment provider |
| Step 2. - User Payment | The user opens the invoice and needs to click on Pay with Apcopay. |
| Step 3. - Payment Page | User enters his credit card information on Apcopay payment page |
Select Apcopay as the payment provider